Getting Started - How to use “devlopr-jekyll” theme
What’s Jekyll ?
If you aren’t familiar with Jekyll yet, you should know that it is a static site generator. It will transform your plain text into static websites and blogs. No more databases, slow loading websites, risk of being hacked…just your content. And not only that, with Jekyll you get free hosting with GitHub Pages! If you are a beginner we recommend you start with Jekyll’s Docs. Now, if you know how to use Jekyll, let’s move on to using this theme in Jekyll:
Watch Tutorial
Steps to create your blog using devlopr-jekyll and Host using Github Pages :
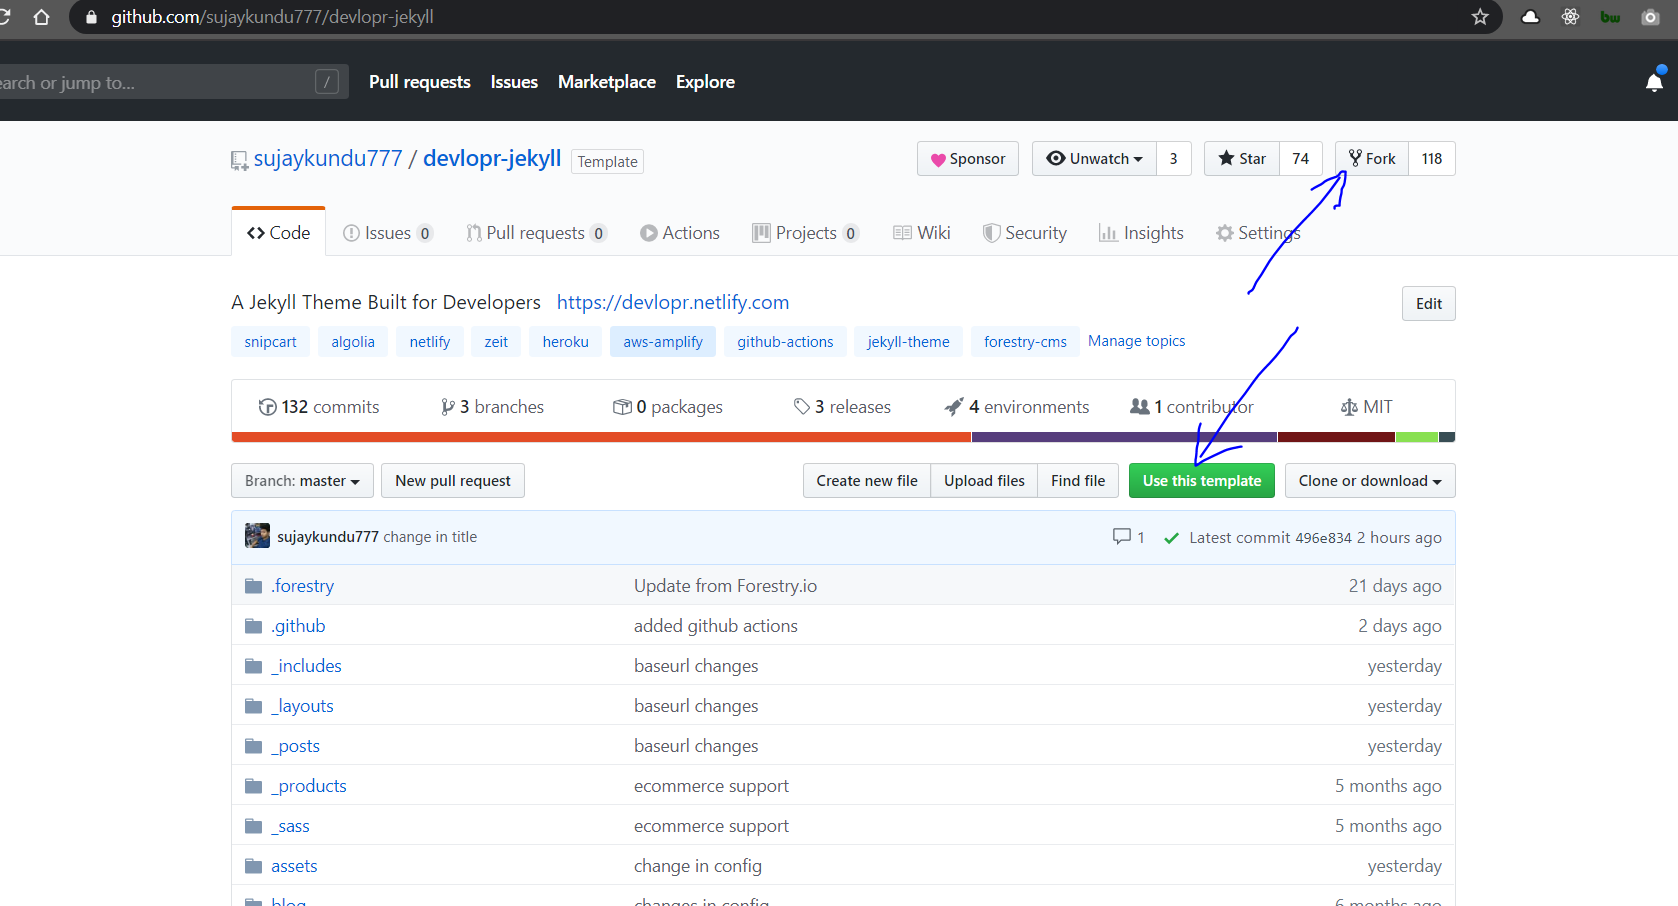
Step 1. Fork the repo - click here
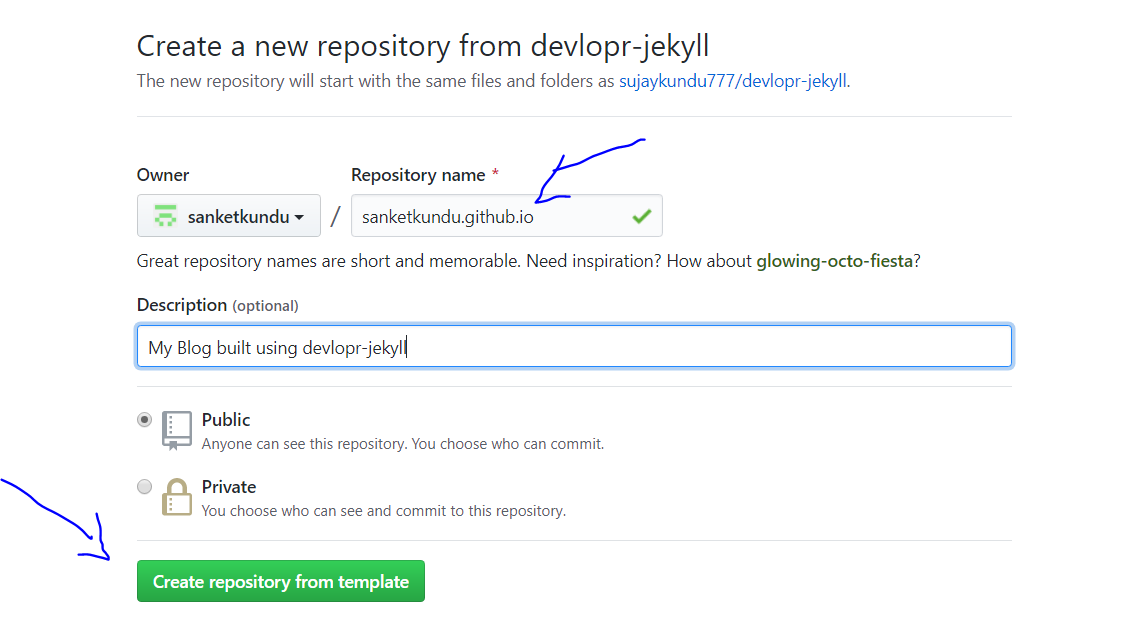
Step 2. Use your-github-username.github.io as the new repo ( Replace your-github-username with yours). Remember if you use the name other than your-github-username.github.io , your blog will be built using gh-pages branch.
Step 3. Clone the new repo locally to make changes :
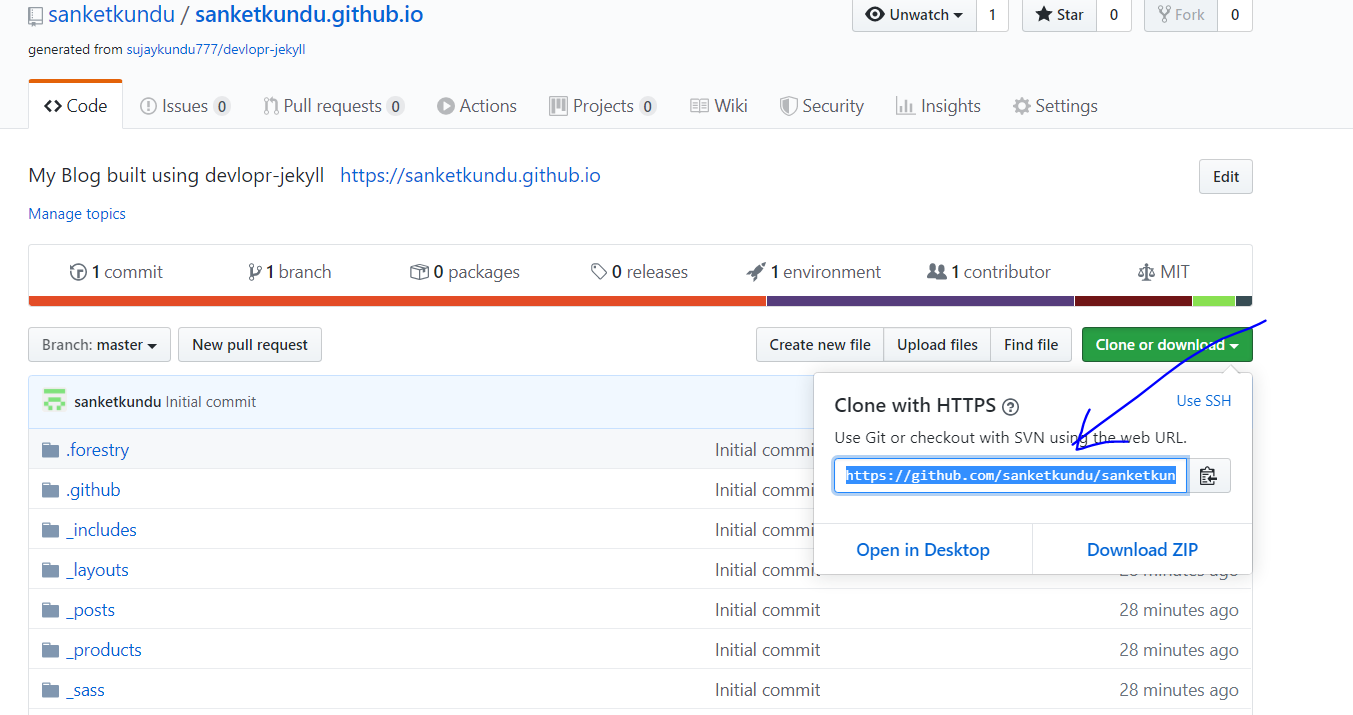
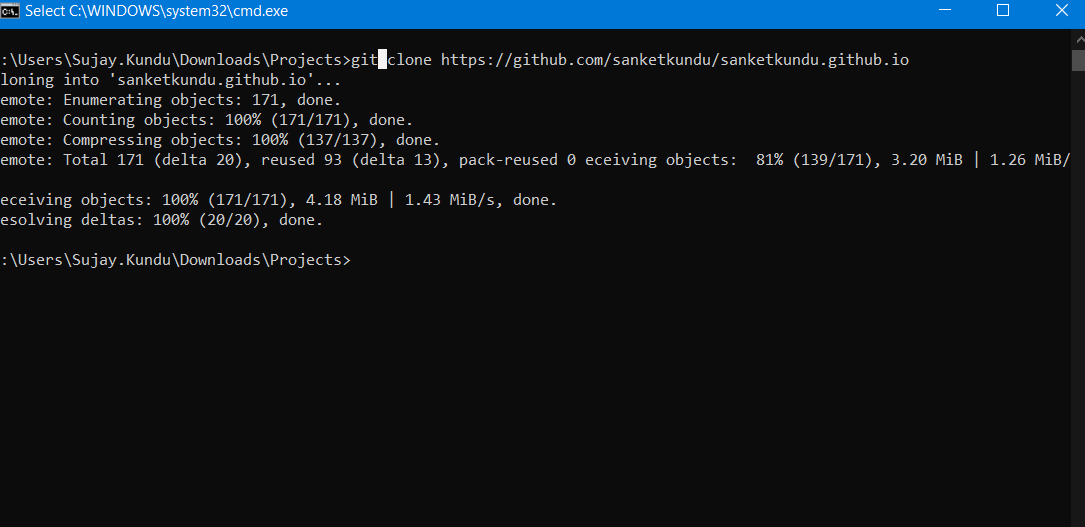
 $ git clone https://github.com/yourusername/yourusername.github.io
 $ cd yourusername.github.io
 $ code .
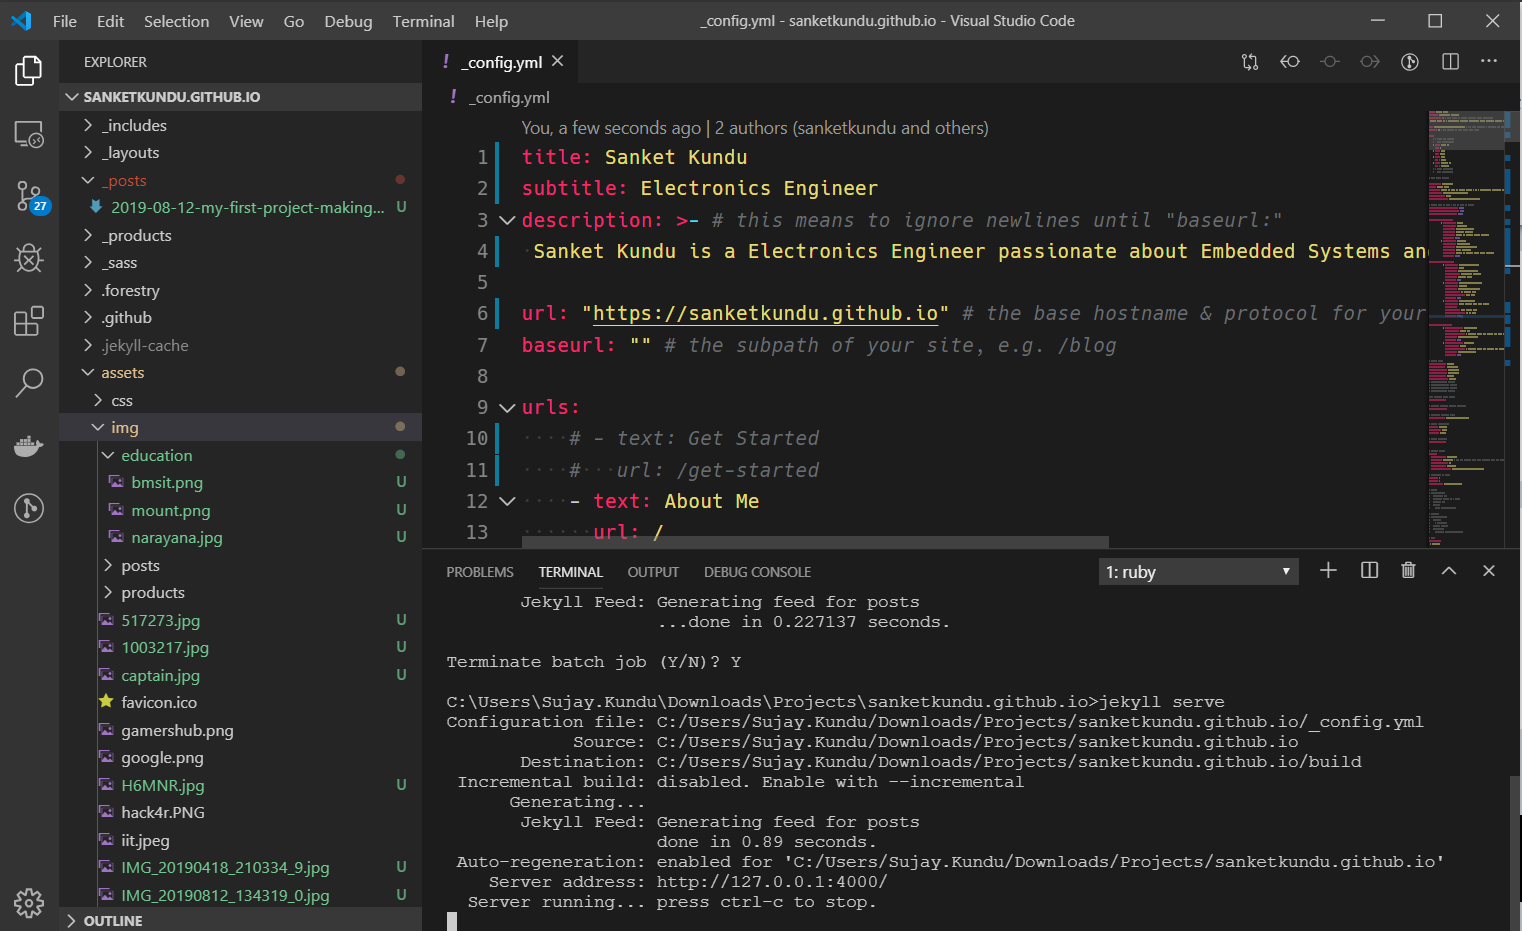
Step 4. Open the files using VSCode and edit _config.yml and edit with your details:
- _config.yml file - replace with your own details
- _posts - Add your blog posts here
- _includes - You can replace the contents of the files with your data. (contains widgets)
- _assets/img - Add all your images here
Step 5 - Install the development requirements:
Set up local development environment
We need ruby and bundler to build our site locally. After installation check if its working:
For ruby :
$ ruby -v
ruby 2.5.1p57 (2018-03-29 revision 63029) [x86_64-linux-gnu]
For bundler :
$ gem install bundler
$ bundler -v
Bundler version 2.2.29
Add jekyll :
$ bundle update
$ bundle add jekyll
This command will add the Jekyll gem to our Gemfile and install it to the ./vendor/bundle/ folder.
You can check the jekyll version
$ bundle exec jekyll -v
jekyll 4.2.0
Step 6. Install the gem dependencies by running the following command
$ bundle update
$ bundle install
Step 7. Serve the site locally by running the following command below:
$ bundle exec jekyll serve --watch
or you can also serve using :
$ jekyll serve
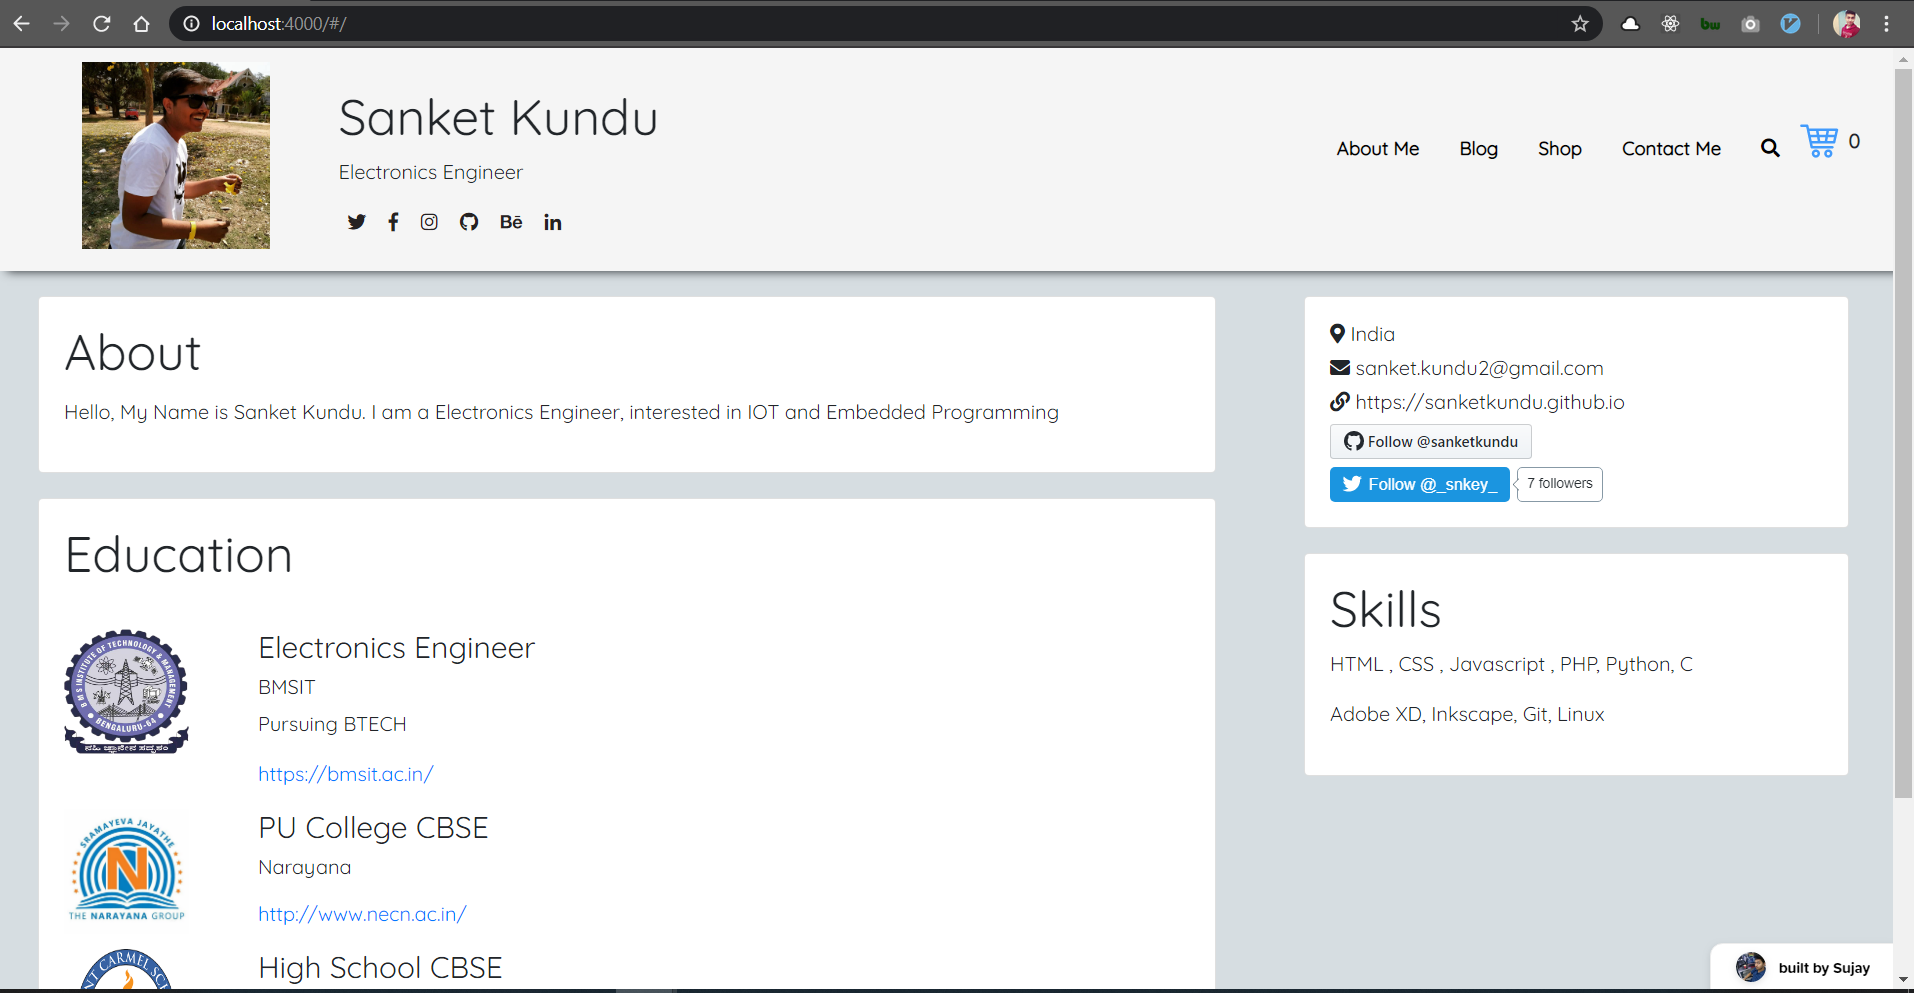
Visit http://localhost:4000 for development server
Adding Content
Start populating your blog by adding your .md files in _posts. devlopr-jekyll already has a few examples.
YAML Post Example:
---
layout: post
title: Sample Post
author: Sujay Kundu
date: '2019-05-21 14:35:23 +0530'
category:
        - jekyll
summary: This is the summary for the sample post
thumbnail: sample.png
---

Hi ! This is sample post.
YAML Page Example:
---
layout: page
title: Sample Page
permalink: /sample-page/
---

Hi ! This is sample page.
Editing stylesheet
You’ll only work with a single file to edit/add theme style: assets/css/main.scss.
Deploy your Changes
Once happy with your blog changes. Push your changes to master branch.
Step 8. Push Your Local Changes
 $ git add .
 $ git commit -m "my new blog using devlopr-jekyll"
 $ git push origin master
Visit your Github Repo settings ! Enable master branch as Github Pages Branch :
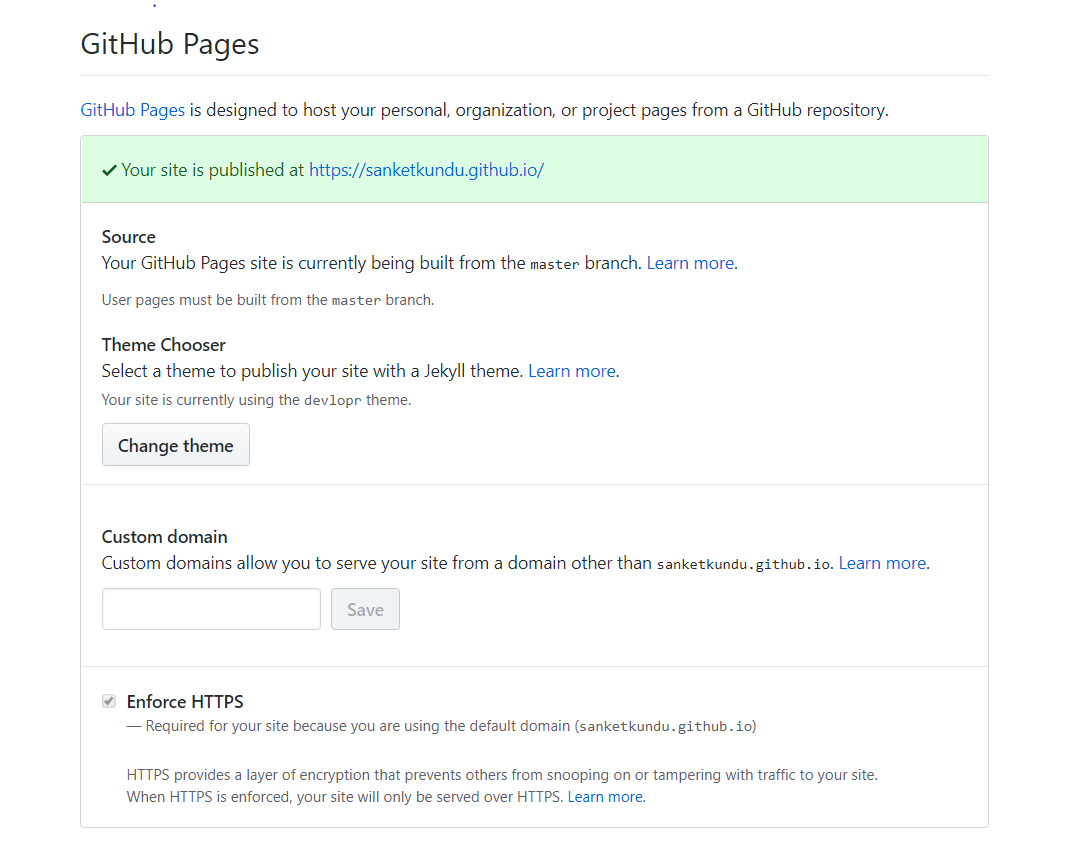
Step 9. Deploy your Blog :
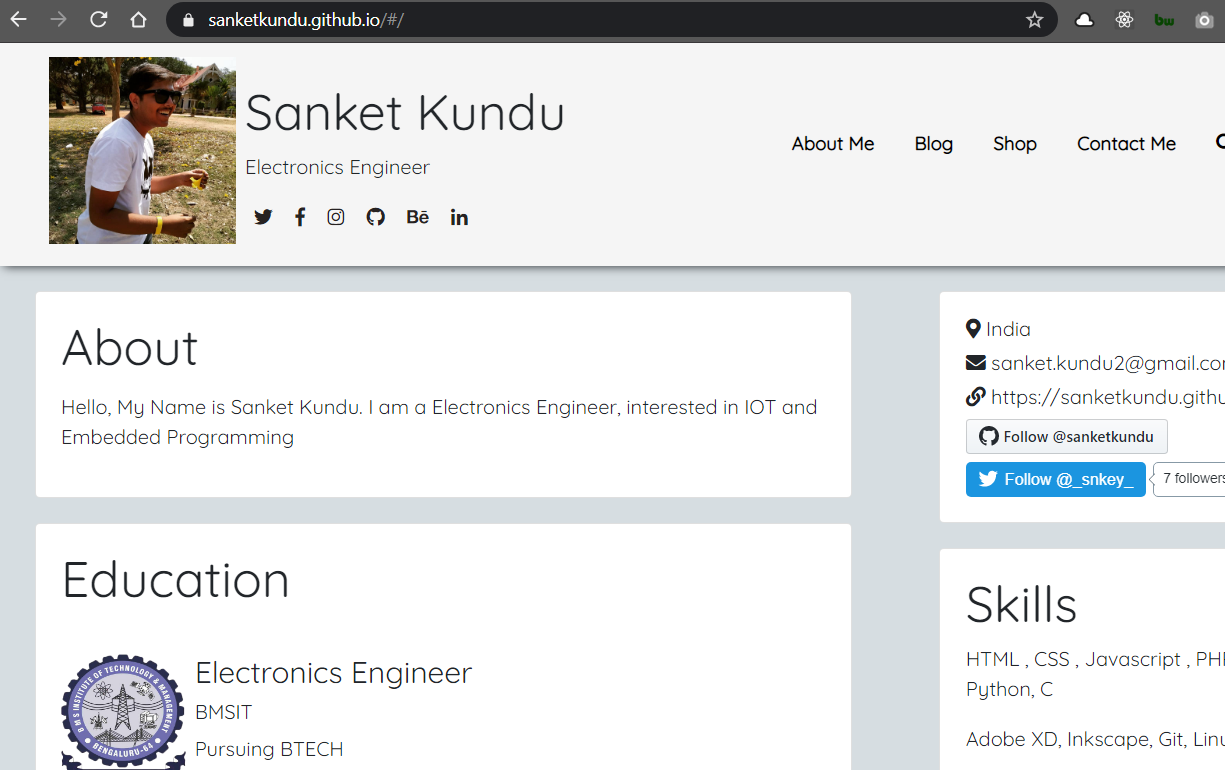
Congrats ! On your new shining Blog !
You can visit the blog using http://your-github-username.github.io.